Kasa camera setup is the first step that you need to go through. Want to know why? Well, the setup allows you to go through the initial configuration of your device. So, if you don’t go through the initial setup, you won’t be able to learn how to set up Kasa camera.
The Kasa camera is a wireless home security camera that comes with a bundle of features designed by Tp-Link. The Kasa camera is a camera brand from Tp-Link, which is one of the most reliable yet prominent brands on the market.
Today, we have come up with this post to help you all with the Kasa camera setup. We will talk about how to prepare for the setup, perform the setup steps, etc. We suggest that you go through this Kasa camera initial setup guide properly and do not miss any step or section.
Prepare for Kasa camera setup
In order to learn how to set up Kasa camera without any issues, you must go through the preparation section. This section will explain to you how you need to get ready to proceed with the Kasa camera setup. Please refer to the steps given below:
- Place your camera nearby the router
- Make sure you know your WiFi network’s credentials
- 2.4GHz and 5GHz networks should be separately broadcast by your router
- Ensure stable power supply to your camera
- Have a smartphone or tablet by your side
- Active internet connection on the device
Steps for Kasa camera setup
Let us now talk about how to set up Kasa camera. Setting up the Kasa camera will be easy for you if you follow the instructions in the section as they are. After a successful setup, you will be able to control or manage your Kasa Smart WiFi camera through the Kasa Smart app. Follow the steps below:
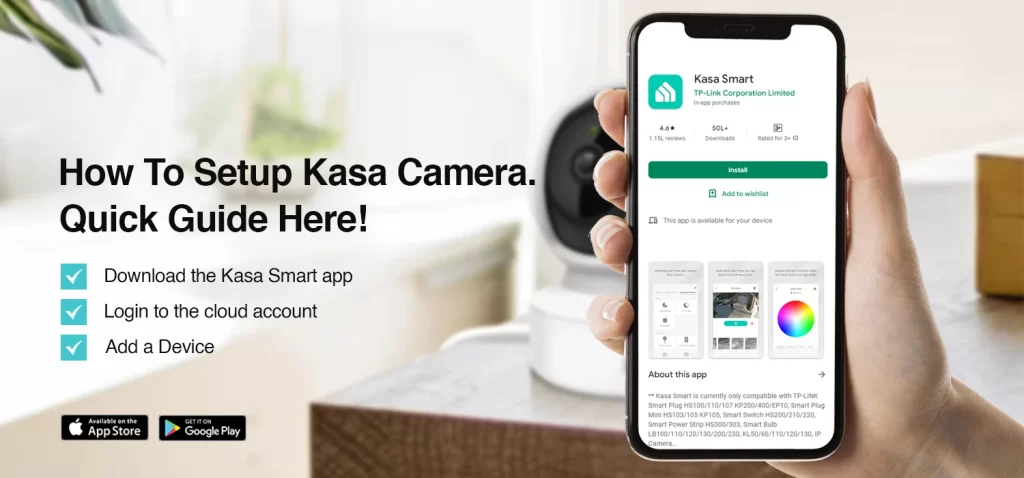
- Download the Kasa Smart app from the App Store or Play Store.
- Make sure your smartphone is connected to the same WiFi network to which you wish to connect your camera.
- Launch the Kasa Smart app and it will prompt you to login to the cloud account.
- If you don’t have the cloud account, you need to create one using the on-screen instructions.
- After that, login to the cloud account and tap the + icon the the upper-right corner of the app screen.
- Next, tap Add a Device and then tap Cameras. Select Kasa Cam Wire-Free.
- You need to add the Kasa hub. Make sure the hub is connected to the power supply.
- After that, connect it to the router. The Kasa Smart app will detect the Kasa hub and will ask you to name it.
- Now, power On your camera and it will search for available hubs.
- Thereafter, press the Syn button on the camera. In a few seconds, it will connect to the Kasa hub.
- Give a personalized name to your Kasa camera to finalize the Kasa camera setup.
- Follow the on-screen prompts and your camera will be set up successfully.
We hope you learned how to set up Kasa camera using the Kasa Smart app.
Conclusion
Setting up the Kasa smart WiFi camera is super easy with the help of the Kasa Smart app on your smartphone. Always download the app from trusted sources and do not use any third-party apps to configure your camera. We hope this post helped you learn everything related to the Kasa camera setup.
If you still come across any issues or have any doubts, kindly feel free to talk to our support team for more help.