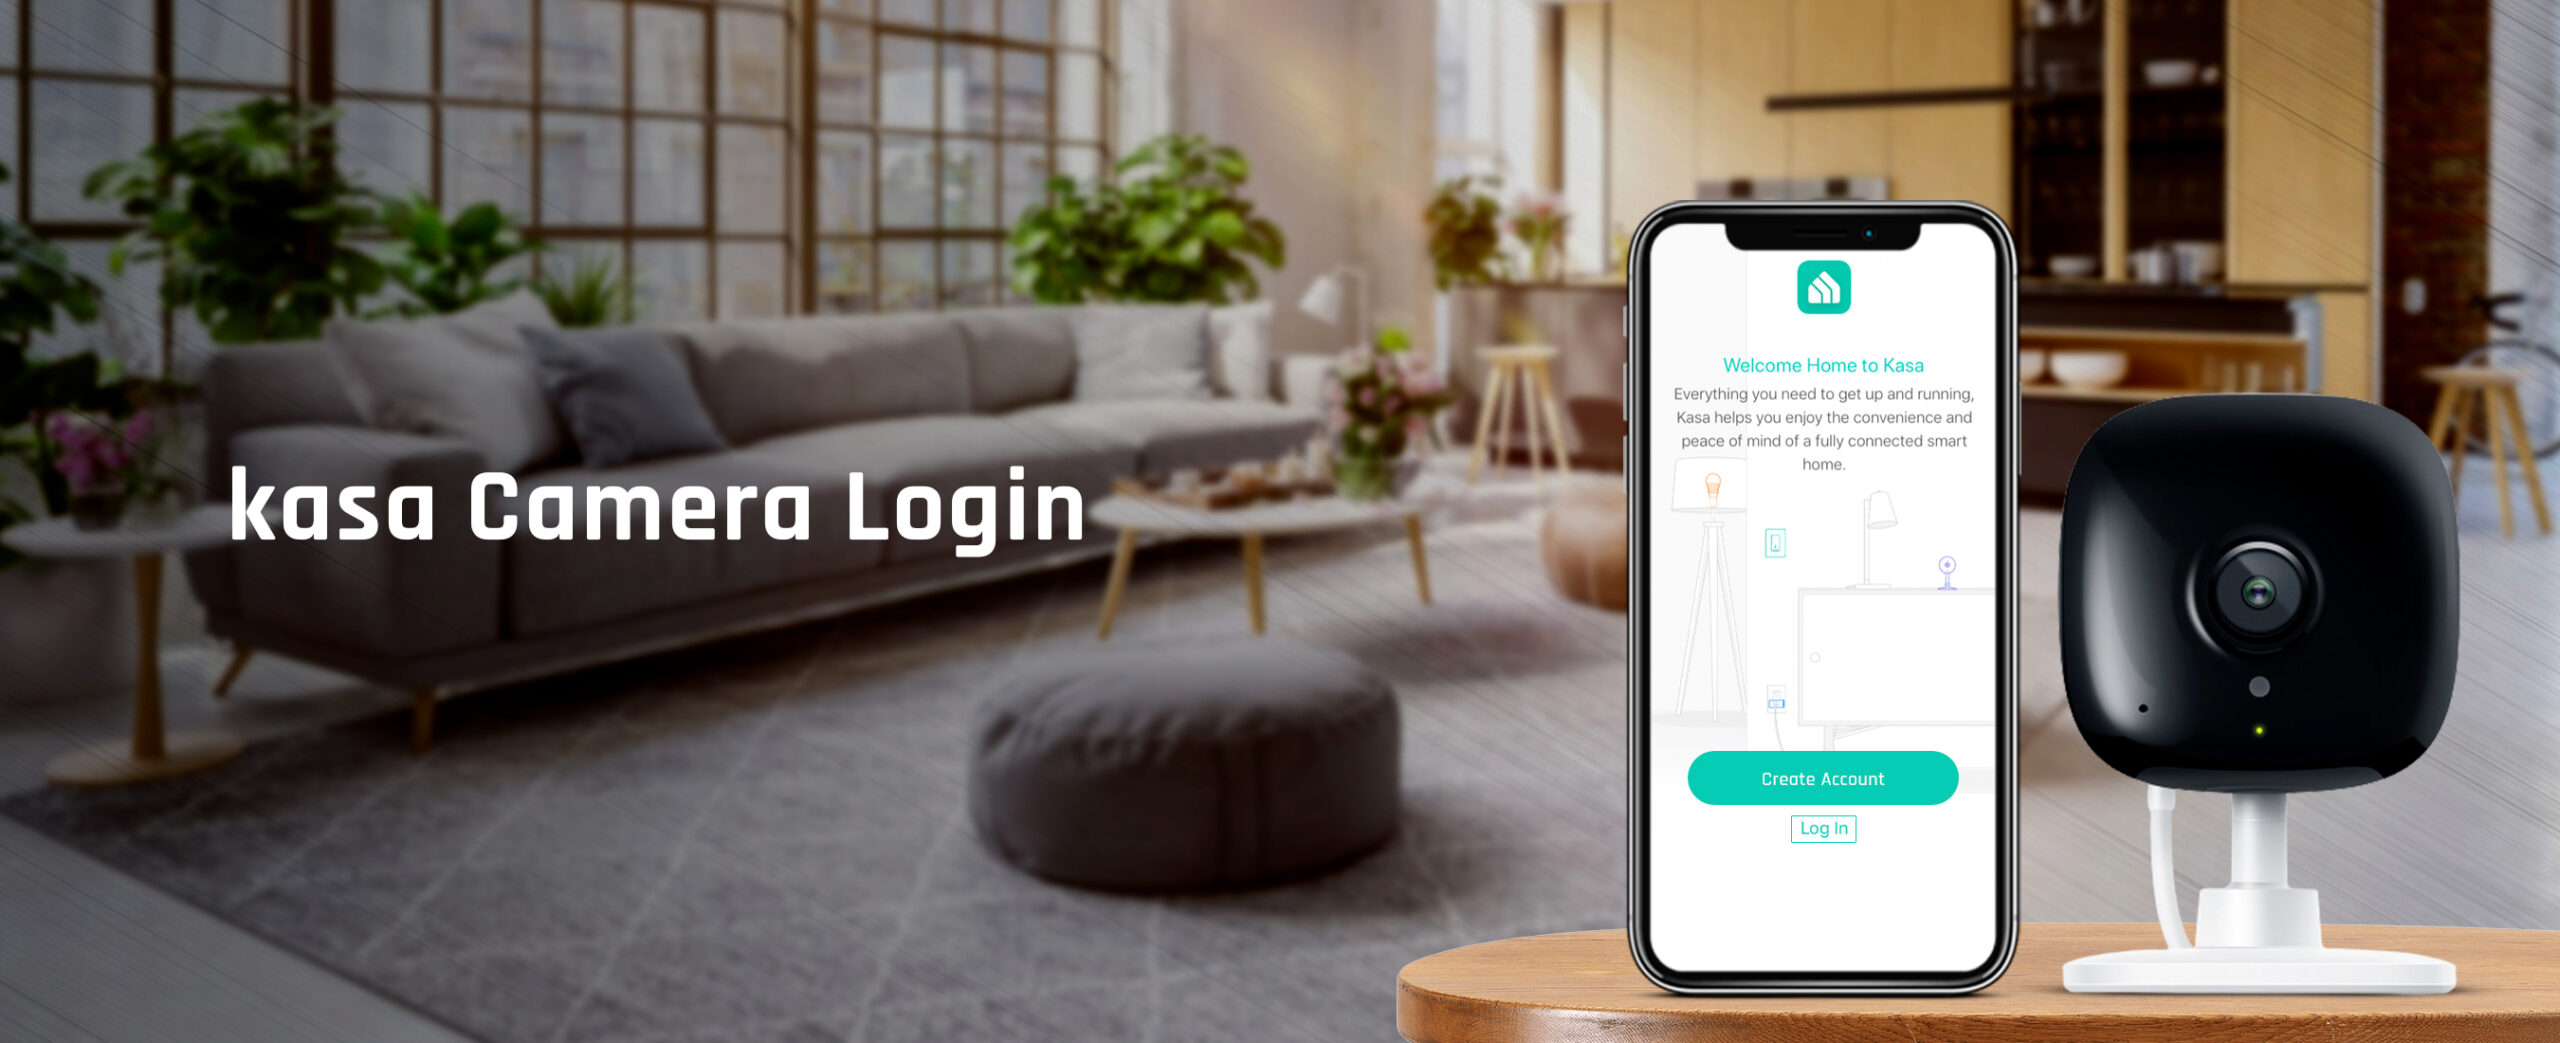
Kasa Camera Login
Kasa camera login and Kasa camera setup are two of the most important things that you need to learn when you buy a new Kasa smart home camera. This smart camera helps you keep track of each and every event that occurs in and around your home.
In simple words, the Kasa smart home camera helps you keep an eye on your property when you are not physically there. Most of the time, when users buy a new Kasa camera, they tend to land multiple problems.
This makes them notice their Kasa camera not connecting to WiFi or Kasa camera red light blinking. That’s the reason why we have come up with this page to help you with the Kasa camera setup and Kasa camera troubleshooting.
Requirements for Kasa camera setup
Before we jump directly to the configuration part, there are certain requirements that you need to meet. We have outlined all the requirements below;

- You need to download the latest version of the Kasa app
- An active WiFi network at your home is a must
- A smartphone or tablet to perform the Kasa camera login and setup
- A suitable place to install your device
Steps For Kasa Camera Setup & Installation
In this section, we have mentioned multiple steps to help you better understand how to set up your new Kasa camera.
1. Download the Kasa app
- To start with the configuration part, you need to download the Kasa app.
- Download and install the Kasa app on your mobile.
- The app is supported on both iOS and Android platforms.
- Make sure your smartphone or tablet is connected to your home WiFi network.
- Plug your smart home camera into a power outlet
2. Kasa camera login
- Launch the Kasa app on your device.
- You will be prompted to login to the app.
- If you have an account, directly login or else create a new account on the Kasa app.
- Tap Sign up to create a new account.
3. Add the Kasa camerA
- Tap the + icon at the top-right corner of the Kasa homepage.
- After that, select Add a Device and then choose Cameras.
- Thereafter, select Kasa cam, and the app will ask you to turn On your device.
4. Kasa cam configuration
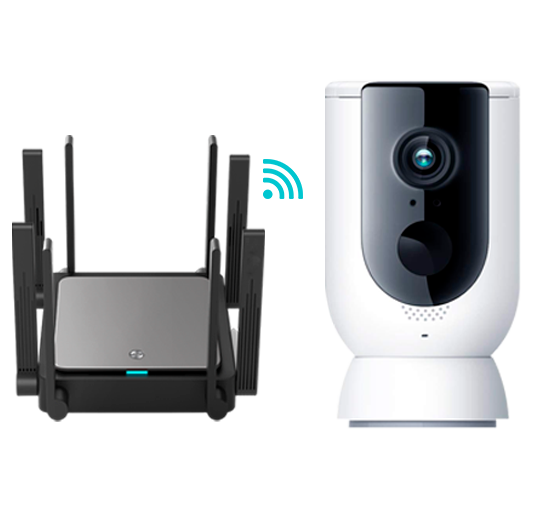
- Now, you need to connect your Kasa cam to a WiFi network.
- You need to connect your camera to a 2.4GHz WiFi network.
- Kasa camera does not support the 5GHz network frequency.
- Select your home WiFi network and enter the password.
5. Finalize the settings
- Set up a new name for your Kasa cam.
- Tap Save and then enable Activity Notifications.
- If you don’t want to see the notifications, tap “I don’t want to be notified.”
6. Mount the Kasa cam
- Now that the settings are done, you need to mount your camera.
- Make sure you mount your camera in a suitable place.
- Tap Get Started in the app and follow the in-app instructions.
- The Kasa app will walk you through the mounting steps.
- Make sure you go through the camera preview to ensure that the camera is installed at a perfect angle.
We hope that the Kasa camera setup and mounting are done successfully.
Kasa Camera Not Connecting To WiFi. How To Fix It?
In case you see a WiFi connectivity issue on your camera, please follow the Kasa camera troubleshooting steps outlined below in order to fix it right away;
- First of all, make sure the WiFi router is powered On.
- Make sure you plug your camera into a power outlet nearby the router.
- After that, ensure that you enter the correct WiFi password during the Kasa camera setup.
- If you still see your Kasa camera not connecting to the WiFi network, please turn Off your router and the camera.
- Once you turn both devices On, make sure you reattempt to connect the camera to the network.
- You need to connect your camera to a 2.4GHz WiFi network.
- Do not connect the Kasa WiFi camera to a 5GHz WiFi frequency as it does not support this network protocol.
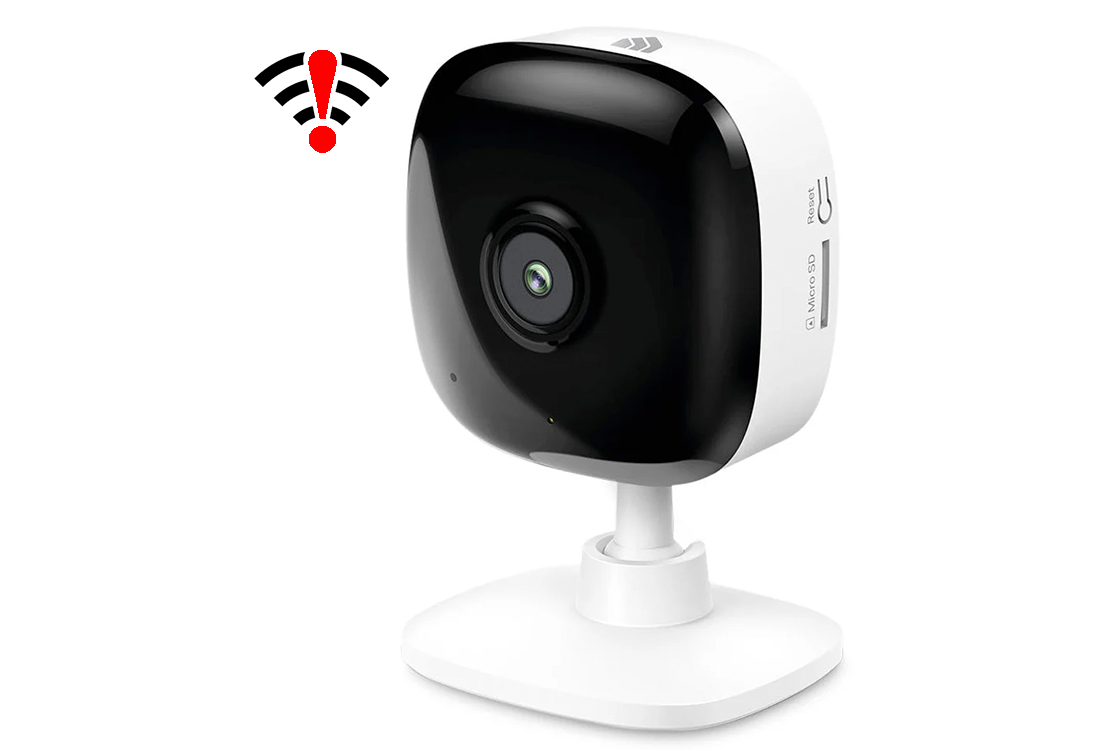
Kasa Camera Red Light Blinking. What Does It Mean?

If you see a red light on your Kasa camera, it means that your device is unable to connect to the internet service or a WiFi network. So whenever the red light shows up, you will see that your camera is disconnected from the internet. Follow the subsequent section to resolve the red light issue on your Kasa smart home security camera.
How To Fix Kasa Camera Red Light Blinking?
In this section, we have put down some of the most effective Kasa camera troubleshooting tips to help you fix this issue right away. Please follow the steps below.
- Make sure your wireless router is powered On
- The Kasa camera should be well within the range of your wireless router.
- We recommend at least 70% network strength for your camera’s optimum functioning.
- Try to bring your router a little closer to the Kasa camera.
- After that, ensure that the internet service is active on your modem or router.
- Contact your internet service provider to know about the possible outage or downtime.
- At last, reboot your camera and the router. If you still see your Kasa camera red light blinking, please reset your camera.
- If you need to learn how to reset the Kasa camera, follow the subsequent section.
- The issue will be resolved once you reset your device and then set it up again.
How To Reset Kasa Camera?
Resetting your Kasa camera is easy with the help of a button. This action will revert your camera to the factory default settings within a few minutes. Please follow the steps below;
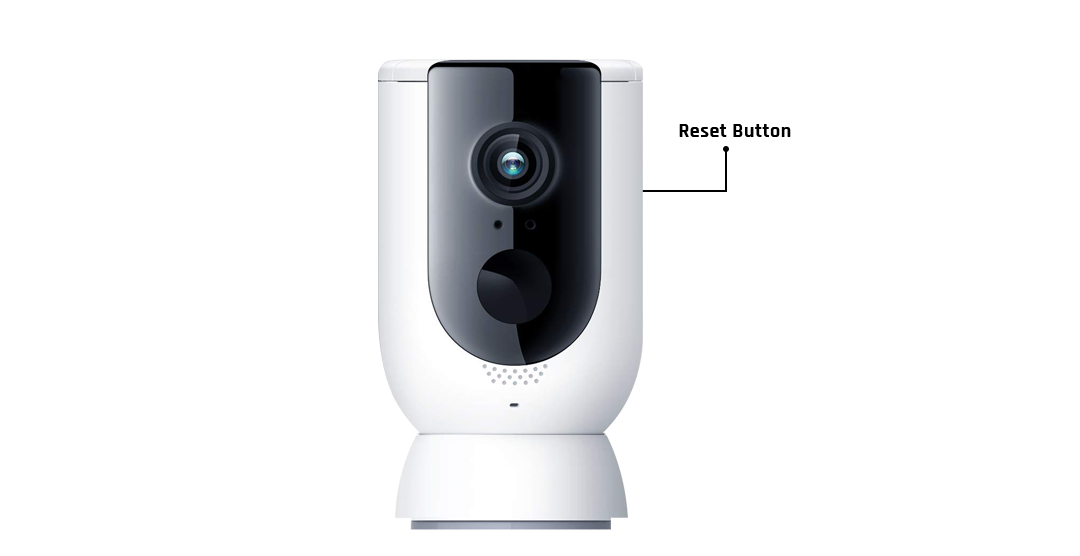
- Firstly, make sure the camera is powered On.
- After that, find the reset button on your camera.
- Press and hold the Kasa camera reset button for 15 seconds.
- Thereafter, wait for a few seconds.
- Allow sufficient time for your camera to revert to its original configuration.
- Finally, the camera will be reset to the factory default settings.